Creating Efficient Forms with React Hook Form and TypeScript
Written on
Chapter 1: Introduction to Form Handling
In the realm of modern web development, managing form inputs is essential, and React is no exception. There are various methods to handle forms; however, prioritizing reusability and performance is crucial, especially because forms are among the most dynamic components. Inefficient form handling can lead to a frustrating user experience, making the application feel sluggish.
Today, we will explore a fantastic library called react-hook-form, which allows us to create clean and efficient form components. But you might wonder, what about other options?
Other Libraries to Consider
Indeed, alternatives like Formik and Redux Form exist, each with its unique approach. Yet, react-hook-form stands out for several reasons:
- It requires less boilerplate code.
- It minimizes rendering compared to other libraries.
- It offers superior support for schema validation.
What will we create today?
We will build a straightforward authentication form where users can:
- Enter their email and password.
- Validate their inputs effectively.
Let’s break this down step-by-step.
Step 1: Install Necessary Dependencies
First, we need to install the required dependencies:
yarn add react-hook-form
Step 2: Import the Hook
Next, import the useForm hook from the library, which provides all necessary controls for our form.
import { useForm } from "react-hook-form";
Step 3: Define a Data Interface
Since we are utilizing TypeScript, we should leverage the type system. This ensures that any typos are caught at compile time.
Step 4: Construct the Form
Below is the complete code for our form, where we extract two controls from the hook:
- register: This binds our form inputs to the library.
- handleSubmit: This is the standard submission function.
When the form is submitted, the values are received as an object in the onSubmit function.

Step 5: Adding Default Values
In some cases, you might want to pre-fill form fields with default values. You can do this using the defaultValue property:
<input defaultValue='[email protected]' {...register('email')} />
Your form will then appear like this:

Step 6: Implementing Validation
As a famous philosopher once stated: “What are forms without validation?” Now, let's learn how to incorporate validation into our form. We have several built-in validation options:
- required: Makes a field mandatory.
- min: Sets a minimum value for numbers.
- max: Sets a maximum value for numbers.
- minLength: Enforces a minimum length for fields.
- maxLength: Enforces a maximum length for fields.
- pattern: Validates against specific patterns, such as for emails or passwords.
To enhance the user experience, we will ensure that the email is provided and that the password has a minimum length of 6 characters.
To catch validation errors, we will import errors from within the hook:
const { register, handleSubmit, formState: { errors } } = useForm<Inputs>();
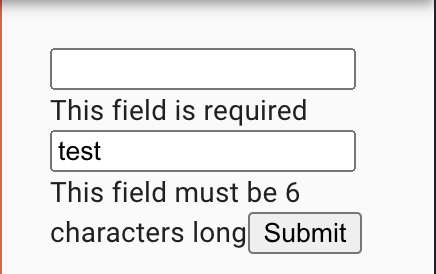
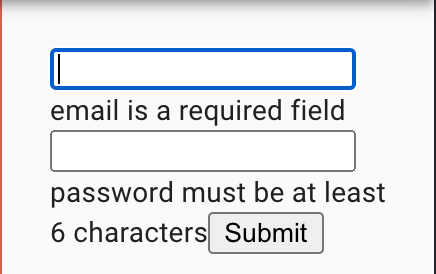
Now, our form appears as follows:

Step 7: Cleaning Up the Code
I prefer not to embed validation logic directly into the input elements. The default controls can also be somewhat limited. In such cases, we can leverage a schema validation library like Yup, which is quite popular.
First, install the dependency:
yarn add @hookform/resolvers yup
Next, we can construct the schema validator and pass it to the useForm hook.
Now, our form will be much more organized than before, and both the form and error handling will be cleaner while maintaining the same functionality.

Conclusion
In summary, we’ve demonstrated how to utilize the react-hook-form library to create efficient and clean form components without the burden of excessive boilerplate code. Wishing you a productive day!
If you have any questions or thoughts, feel free to connect with me on LinkedIn.
Chapter 2: Learning Resources
In this video titled "How to use REACT HOOK FORM with TYPESCRIPT," you'll gain insights into effectively implementing React Hook Form with TypeScript.
The second video, "React Hook Form V7 with Material UI and Typescript Tutorial | Part 1 -- Setup," provides a detailed setup guide for using React Hook Form with Material UI and TypeScript.